GitHub Copilot in Visual Studio 2026 can talk to a local model over its Ollama provider — but you can't just point it at a bare llama.cpp server. Copilot's Ollama integration calls endpoints and expects response fields (model capabilities, context size, tool-support flags) that llama.cpp's own server never implements. Point Copilot straight at llama.cpp and the model either won't show up in the list, or it'll show up and immediately fail. This is exactly the gap LLM Router is built to fill: it sits in front of llama.cpp and speaks the Ollama API in full, including the extra metadata Copilot needs.
Set up LLM Router first
Before Copilot can see anything, LLM Router needs to be running with at least one model exposed:
Install and run LLM Router (standalone with
dotnet run, or as a Windows Service) and register your llama.cpp server(s) — CPU, CUDA, Vulkan, or SYCL.Create a Preset for each model you want Copilot to see. This is the step that's easy to miss: LLM Router only lists a model through its Ollama-compatible
/api/tagsendpoint if it has a preset, so an installed model with no preset simply won't show up as an option in Copilot.Note the port LLM Router's routing API is listening on (Settings → API Gateway → Routing API Port). That's the address Copilot's Ollama provider needs, not the admin dashboard's port.
For the full feature rundown — multi-backend server management, model presets, live stats, API key auth, and more — see the LLM Router project page.
Connecting Copilot in Visual Studio 2026
These steps are specific to Visual Studio 2026's Copilot Chat — VS Code's Copilot extension has a different provider and model-management flow, so the dialogs below won't match if you're looking at VS Code.
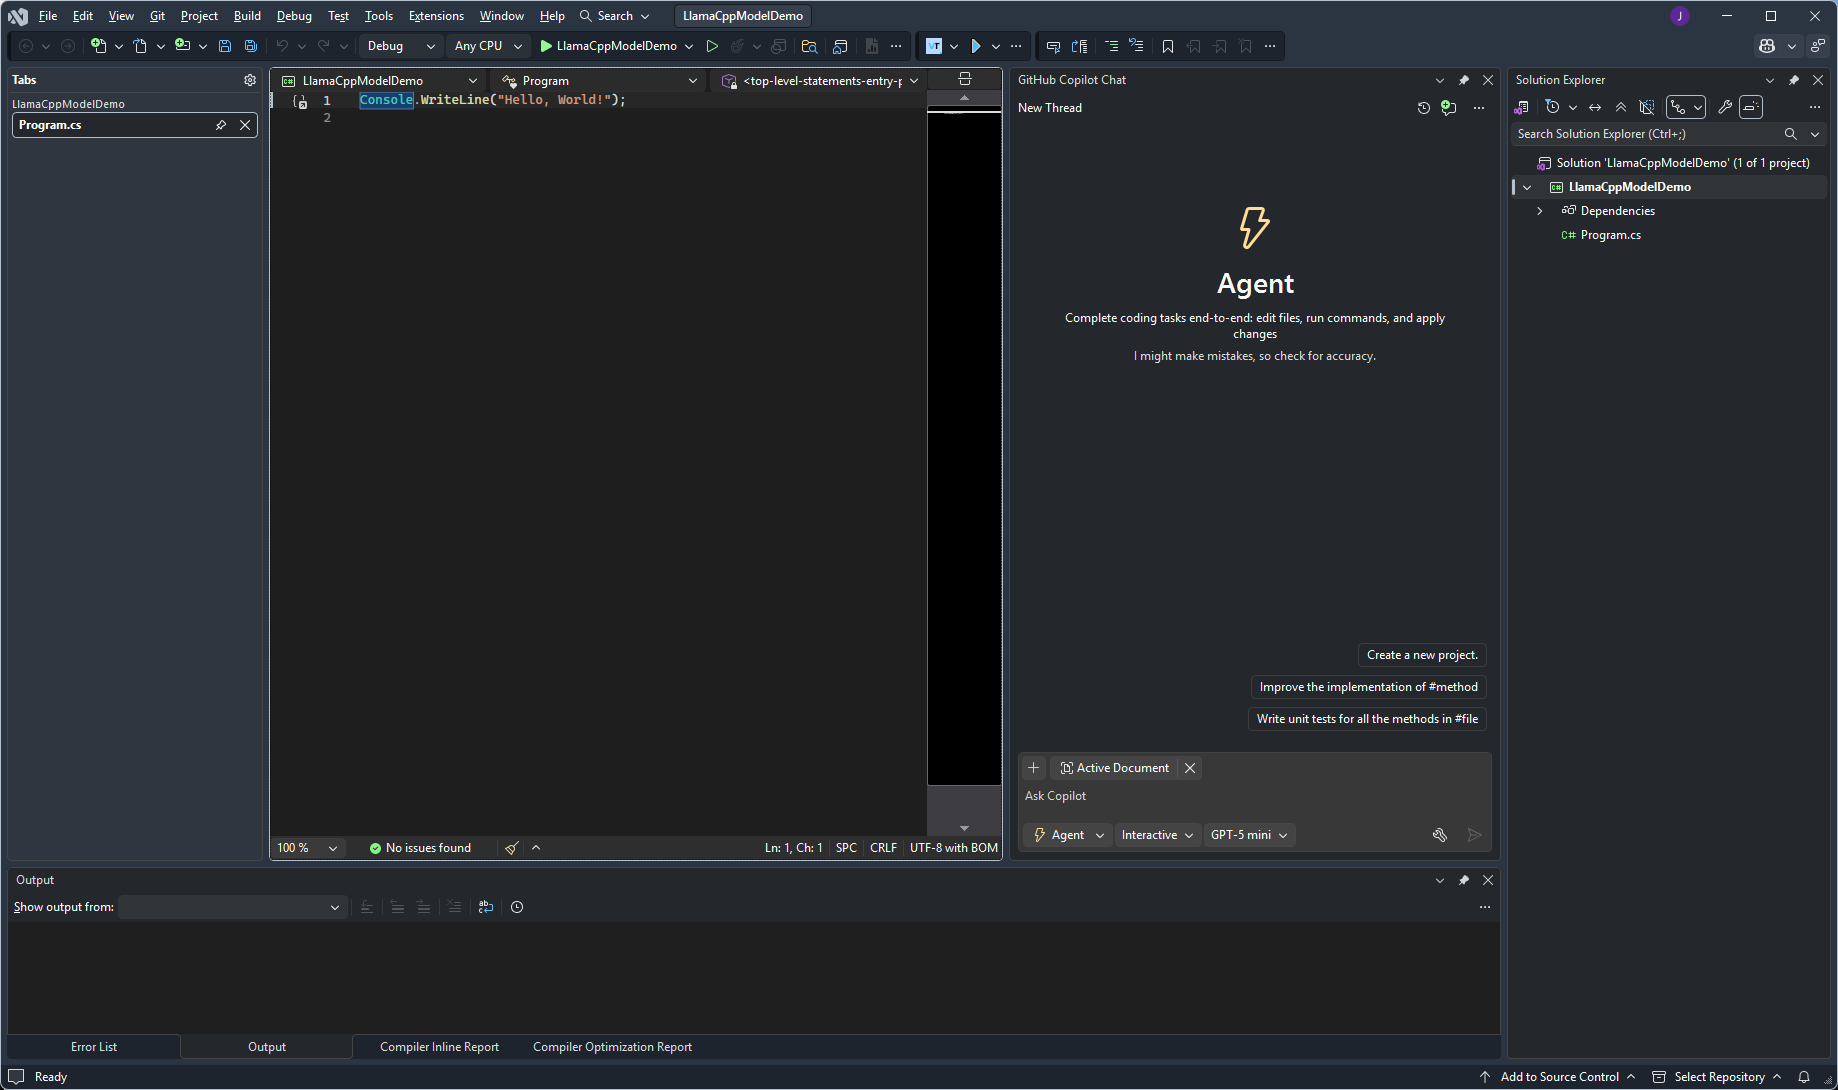
1. Start from a normal project
Nothing special here — just a regular Visual Studio 2026 project with GitHub Copilot Chat open in Agent mode.
2. Open Manage Models
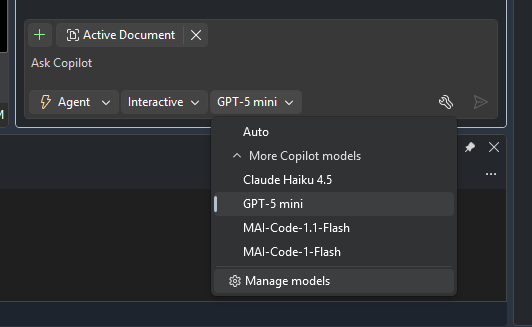
In Copilot Chat, click the model dropdown next to the chat box and choose Manage models.
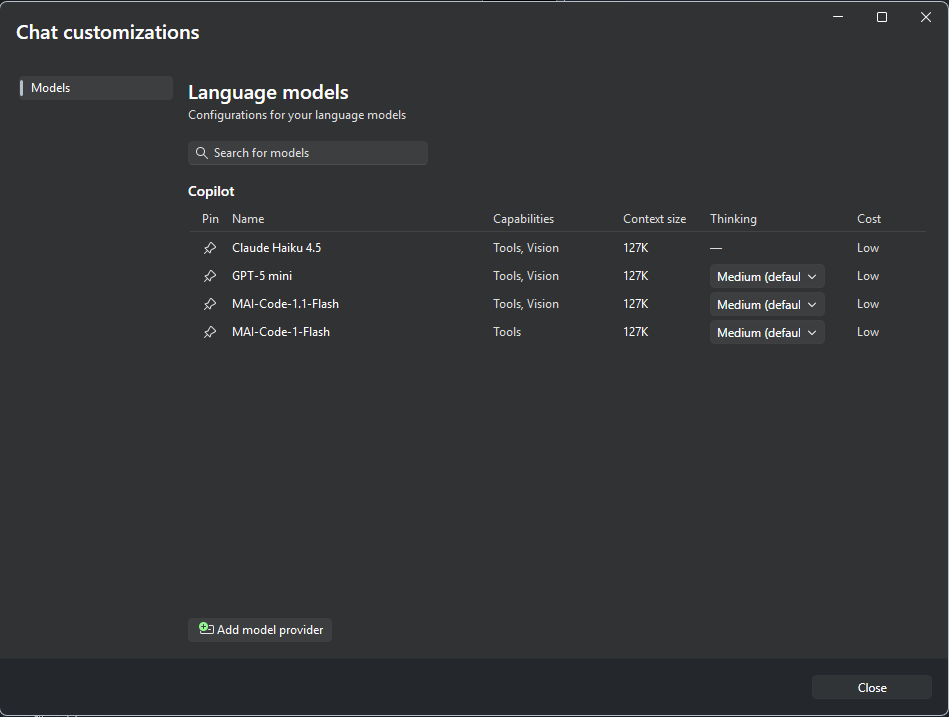
This opens the Chat customizations dialog, listing the built-in Copilot models.
3. Add LLM Router as an Ollama provider
Click Add model provider, and choose Ollama from the provider dropdown — this is the protocol LLM Router speaks on Copilot's behalf.
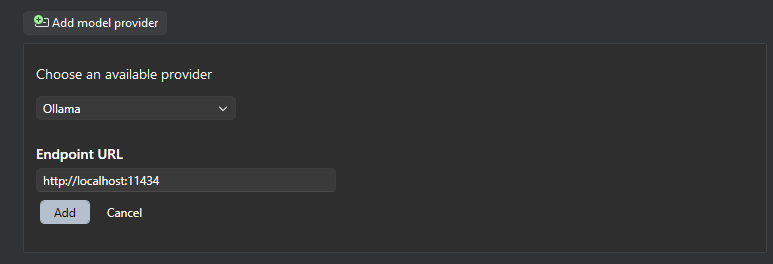
By default this points at http://localhost:11434, the standard Ollama port. Change it to wherever LLM Router's routing API is listening instead — in this setup, LLM Router was configured with a dedicated routing port, http://localhost:5054.
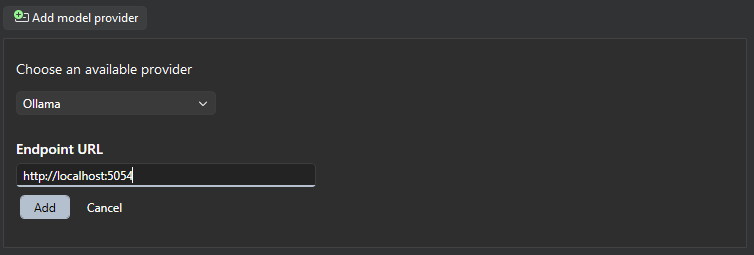
Click Add, and every model with a preset in LLM Router shows up under a new Ollama section. Pin the ones you want available in the model picker.
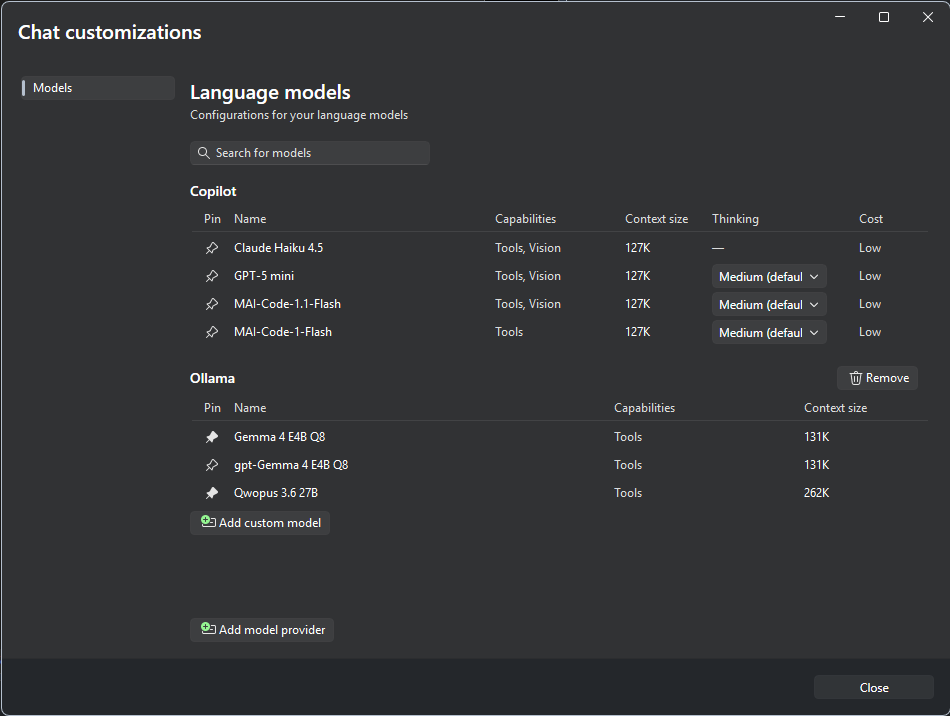
4. Switch to the local model
Back in the chat box, the pinned models now appear at the top of the model dropdown, tagged Ollama.
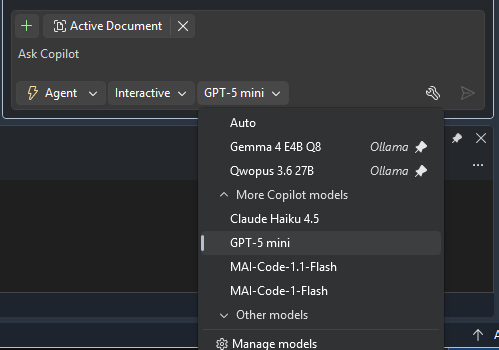
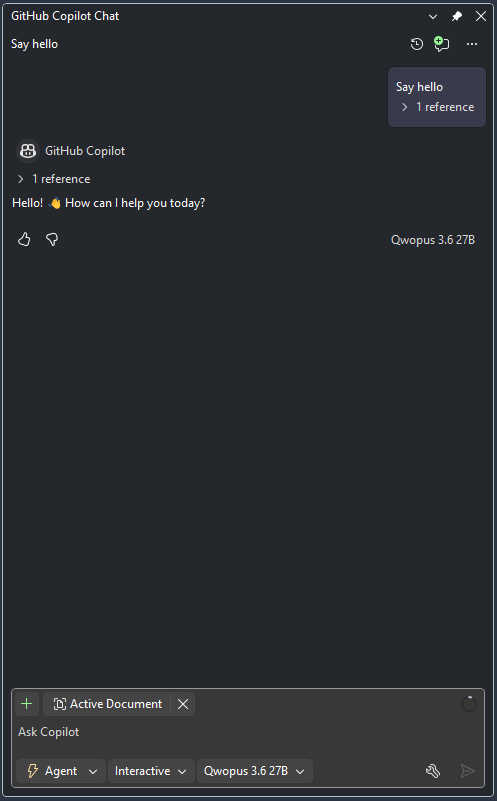
Once selected, the chat box shows the model actively in use — here, Qwopus 3.6 27B running locally through llama.cpp via LLM Router.
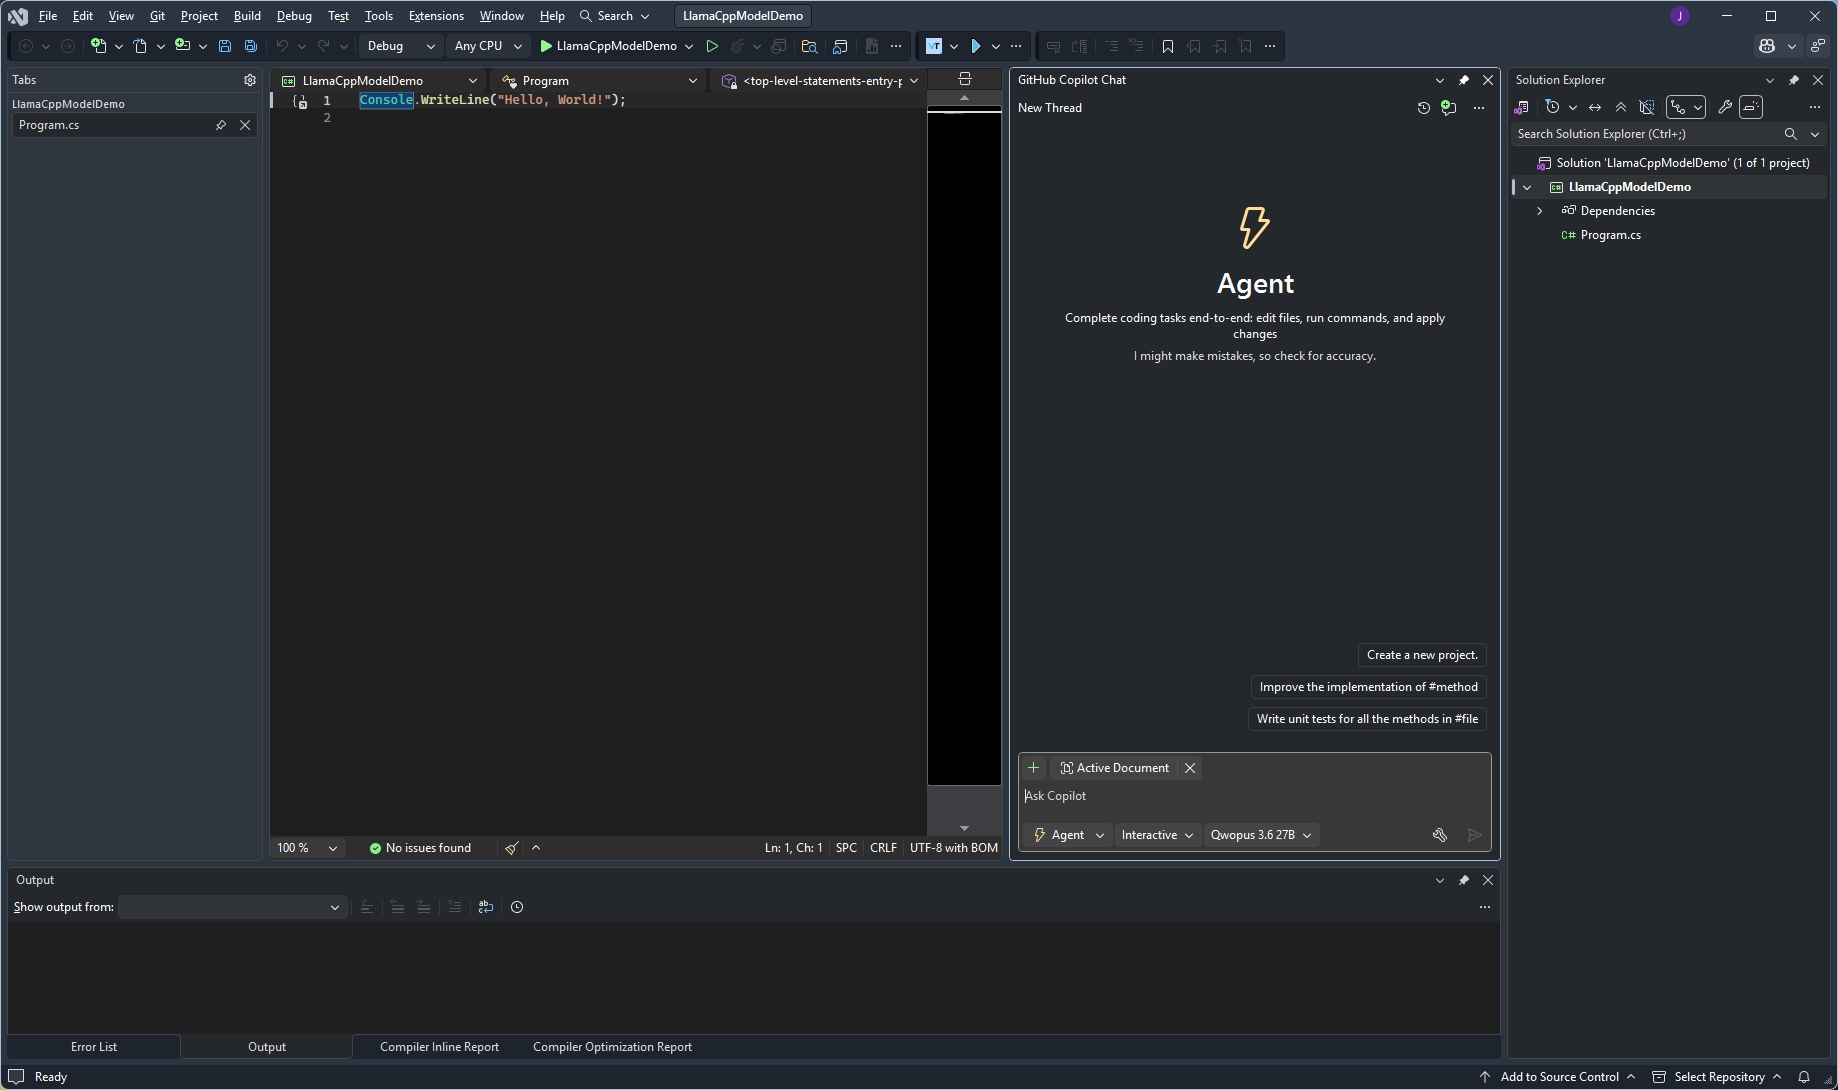
5. Verify it actually works
A quick "say hello" confirms Copilot is really talking to the local model end-to-end.
6. Put it to work
From there it behaves like any other Copilot model — give the agent a real task.
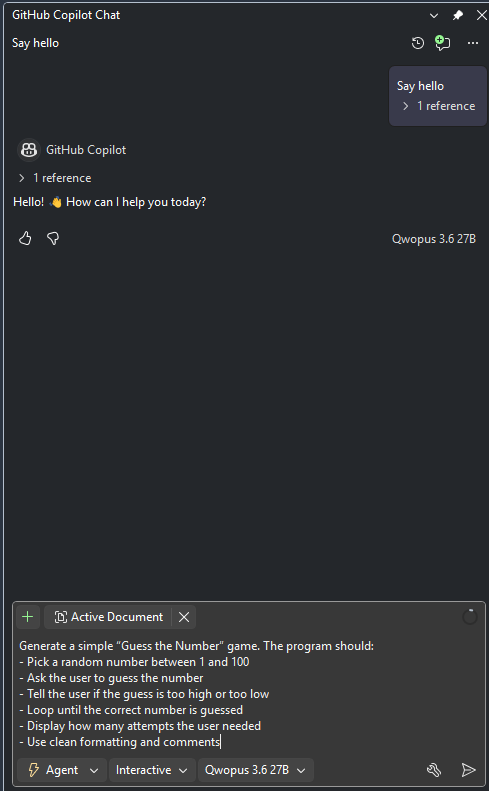
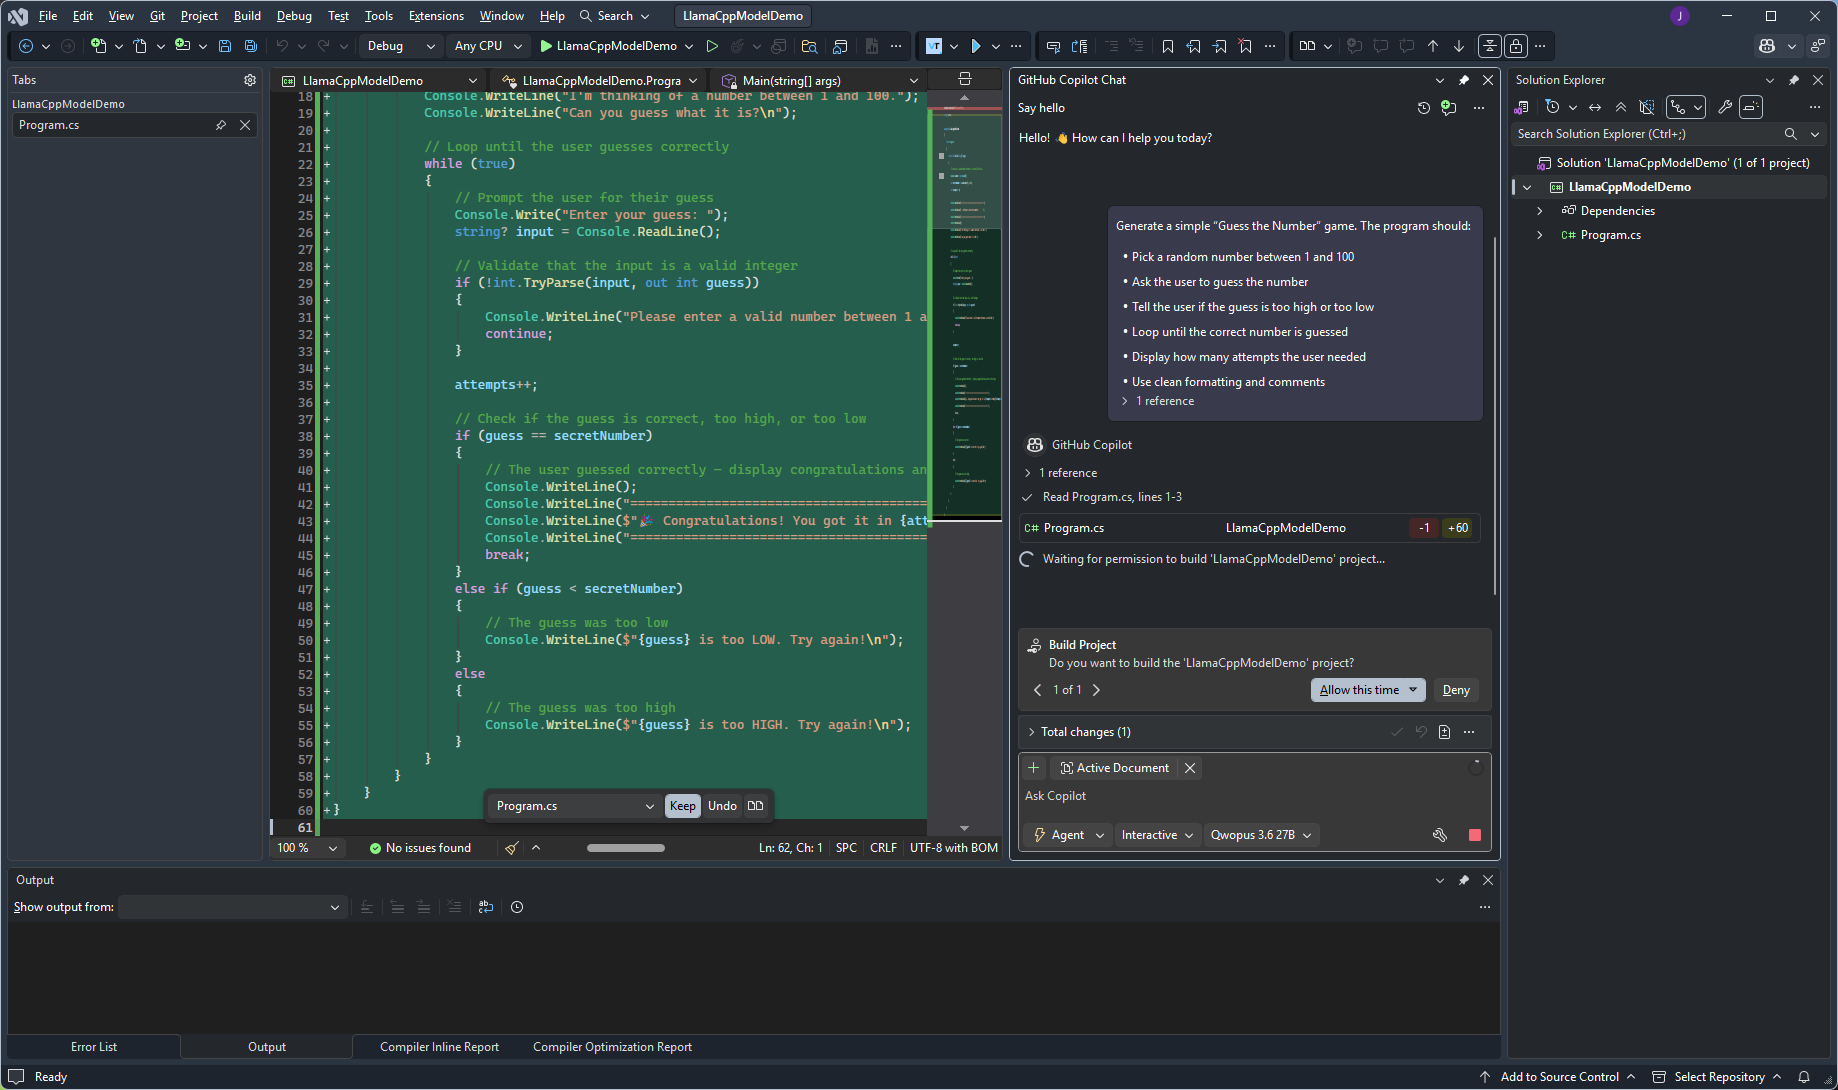
It reads the project, edits files, and asks for build permission along the way, same as it would with a hosted model.
The agent finishes the task and summarizes what it changed.
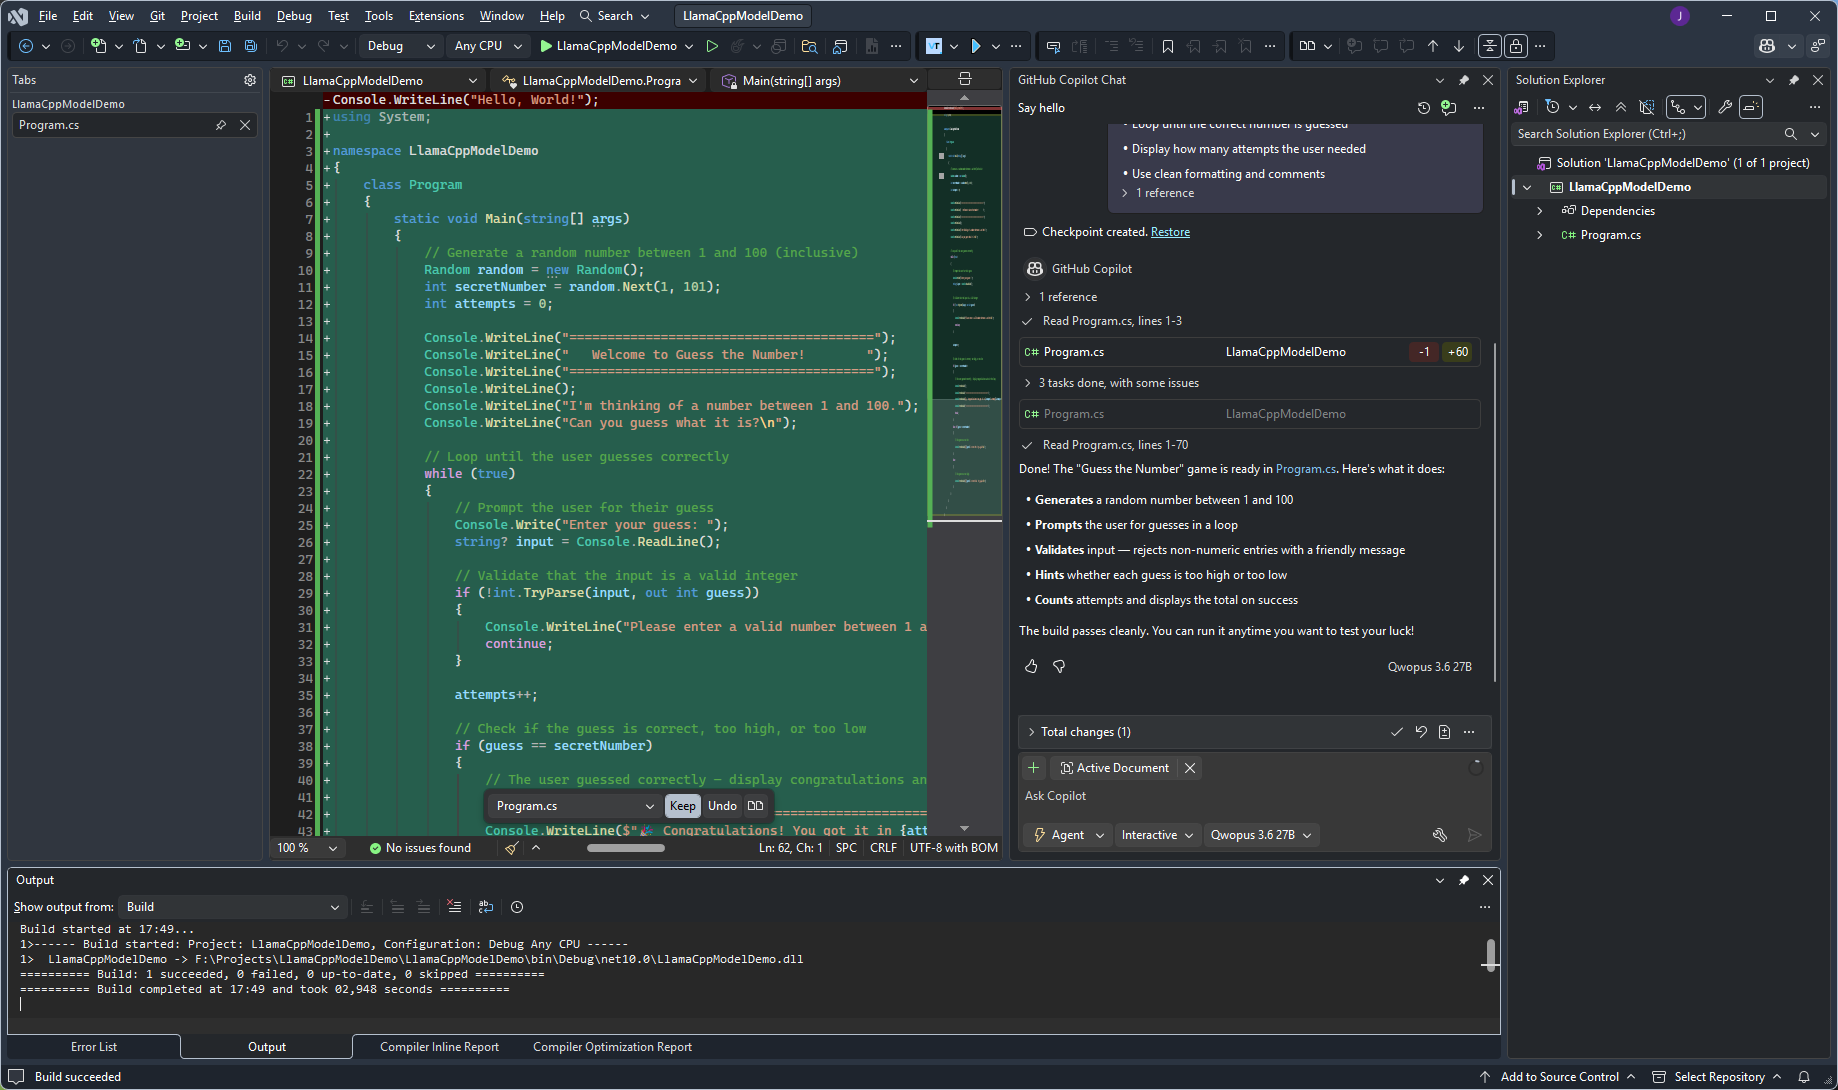
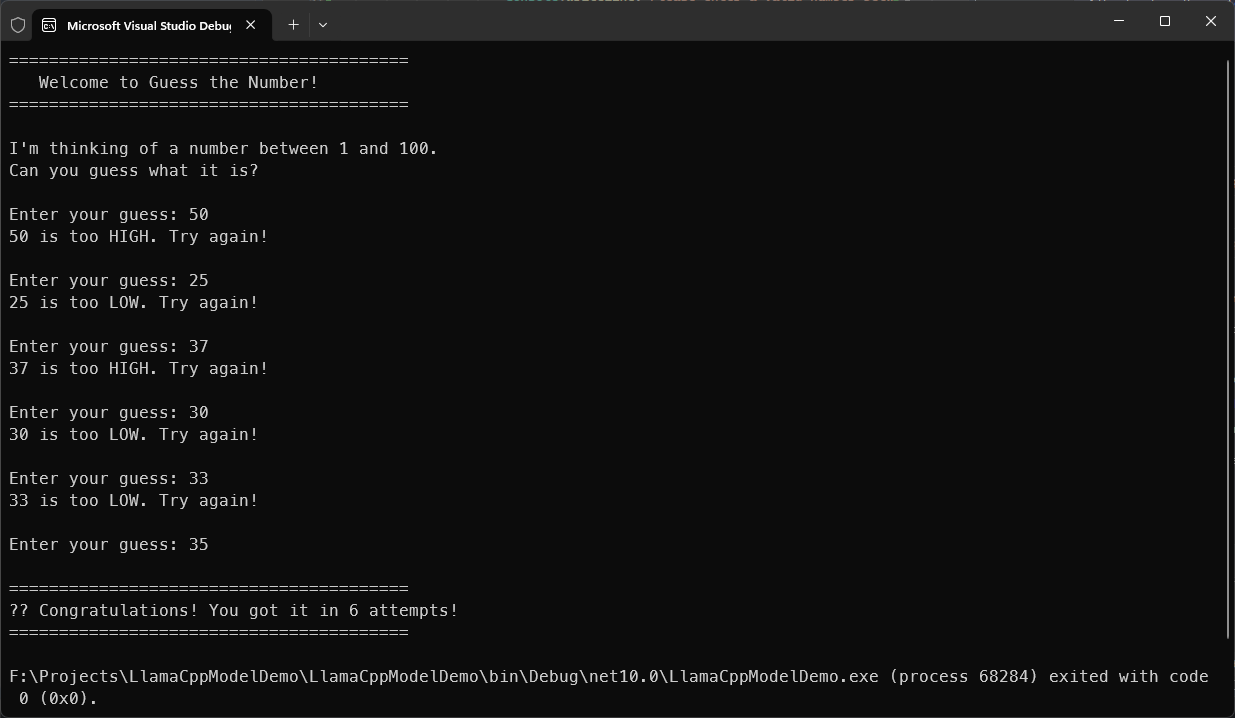
Running the result confirms it actually works.
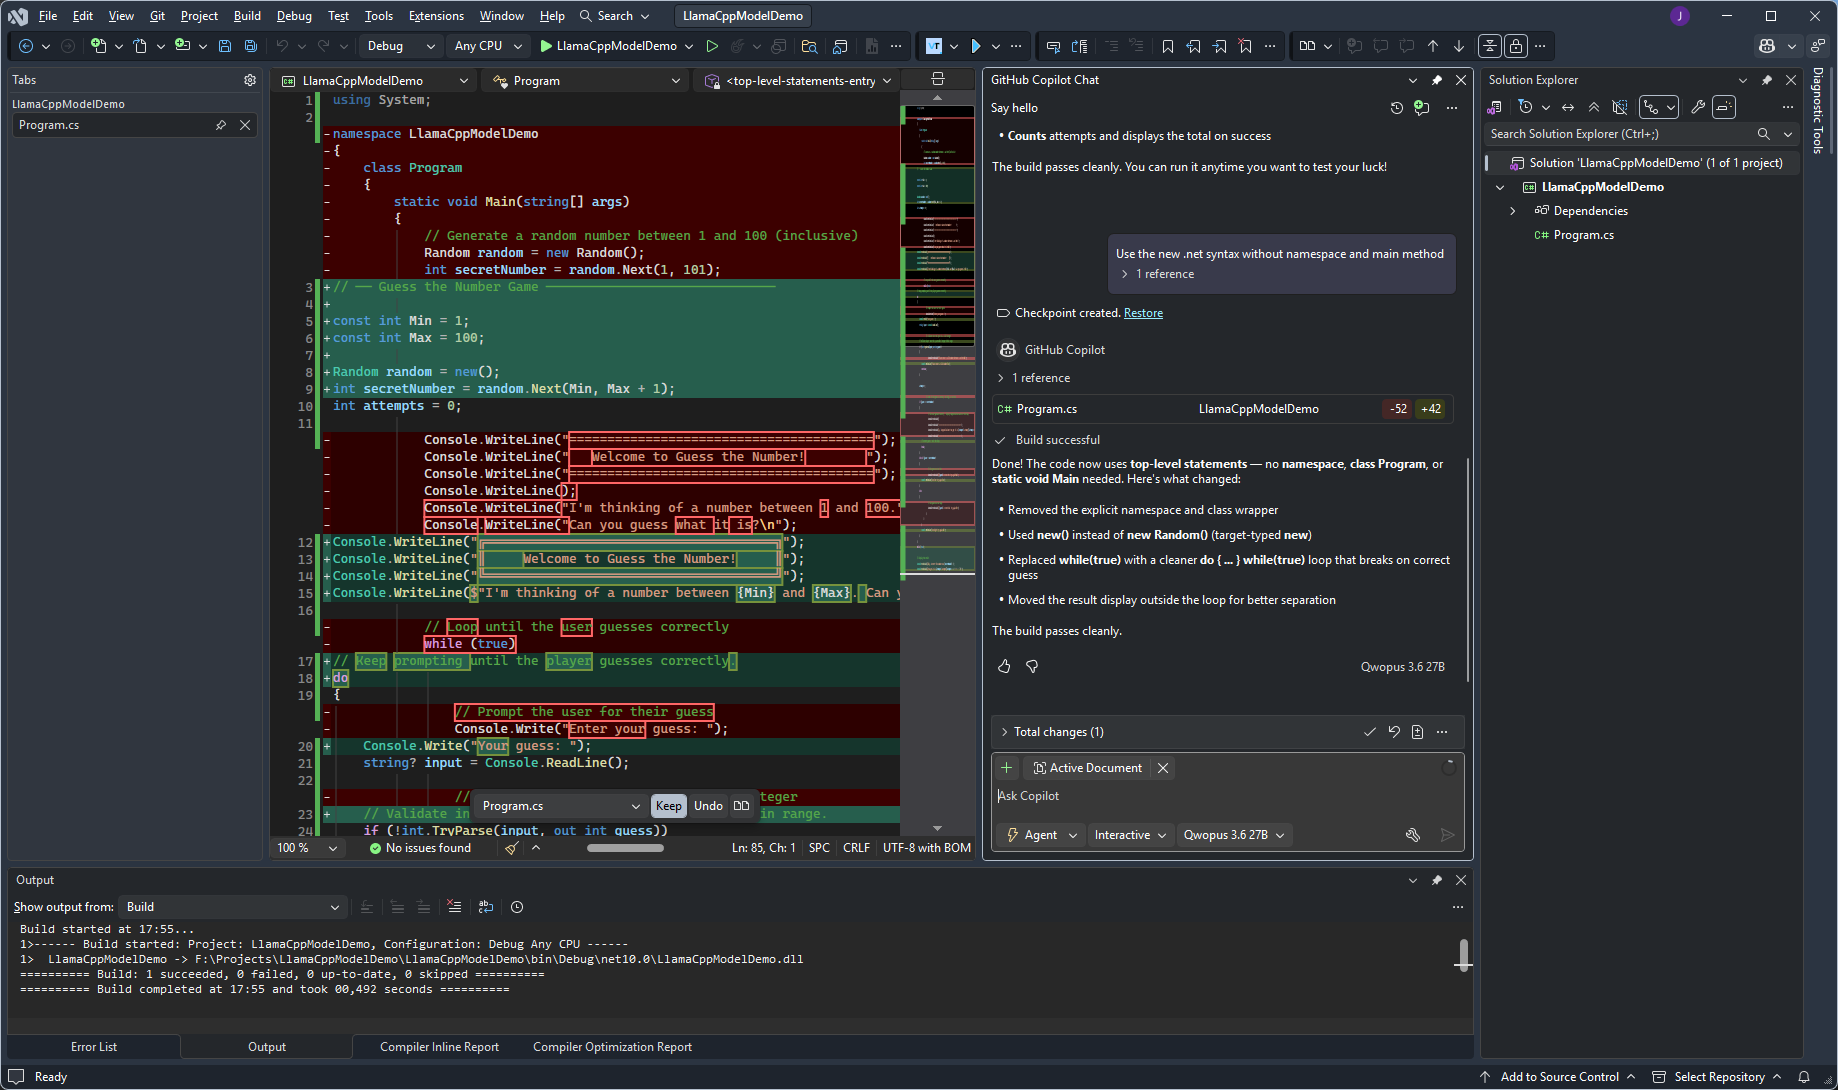
And it takes follow-up instructions and corrections just like normal — here, asking it to modernize the code to top-level statements.
End to end, GitHub Copilot has no idea it isn't talking to a hosted model — LLM Router quietly translates every request behind that http://localhost:5054 endpoint into llama.cpp calls and back. For anything with an Ollama provider option, the same setup applies.